On May 19, 2022, the Huobi Wallet team changed the wallet name to iToken.
Furthermore, the team said they would continuously optimize the iToken wallet based on user experience, functional polymerization, and iEarn.
- User experience: Creating a Web 3.0-friendly interface
- Functional Polymerization: Keeps users well-informed about NFT, GameFi, and DeFi market
- iEarn: A high-yield platform that directs users to quality projects to earn a high income
What is the iToken Wallet?
iToken Wallet is a Huobi cloud wallet that has multi-chain support. Unlike hot wallets, such as MetaMask, Trust Wallet, Phantom Wallet, etc., cloud wallet allows users to manage their digital assets without having to keep the private key/ recovery phrase.
As the iToken Wallet eliminates the need for safely storing the recovery phrase, it is a great wallet for people who are just entering the crypto space.
At the same time, with the features of functional polymerization and iEarn, it is more than a wallet for people who are already immersed in the crypto and NFT worlds.
How to Create iToken Wallet Account?
Creating and setting up an iToken cloud wallet is as easy as pie.
To create an iToken Wallet, you need to have a Huobi Global account. You can create an iToken Wallet account in two ways:
Via Huobi Global Application
1. Install Huobi Global Application
If you have already installed the Huobi Global application, you can skip this step.
First, you need to install the Huobi Global mobile application.
The Huobi Global application is available for Android, iOS, Windows, and mac OS.
After the installation, enter your login credentials to access your Huobi account.
If you have not created an account on Huobi Global, you need to sign up first.
Sign-up is very simple and there is no KYC needed to create the Huobi Global account or trade on the platform.
2. Tap on “Assets”
After getting to your account on the Huobi Global application, you will see a few menus located at the bottom of the device screen.
Tap on the “Assets” amongst them.

3. Tap on “Cloud Wallet”
After tapping on Assets, you will be able to see options, such as Deposit, Withdraw, Transfer, Orders, and Cloud Wallet under the wallet balance.
Tap on the “Cloud Wallet” (as shown in the Step 2 image).
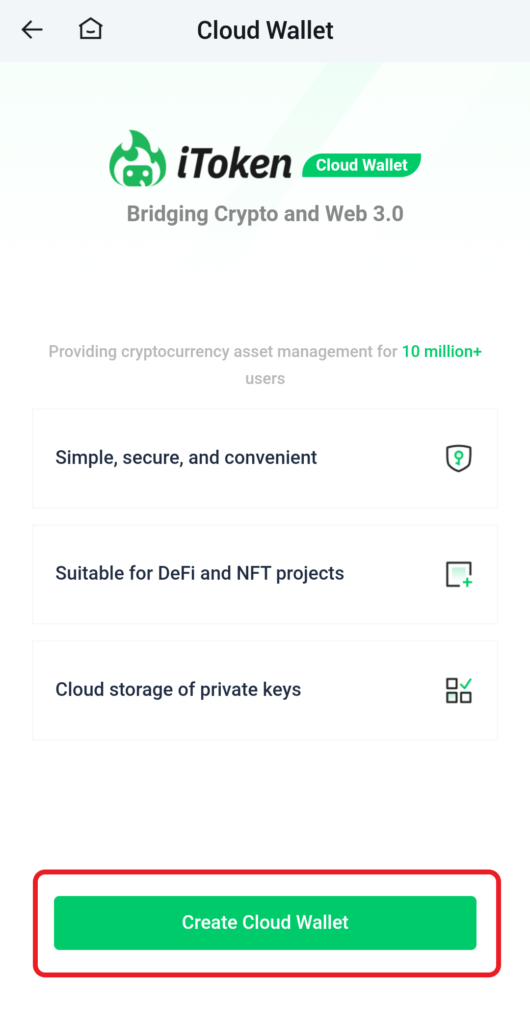
Then, tap on “Create Cloud Wallet”.

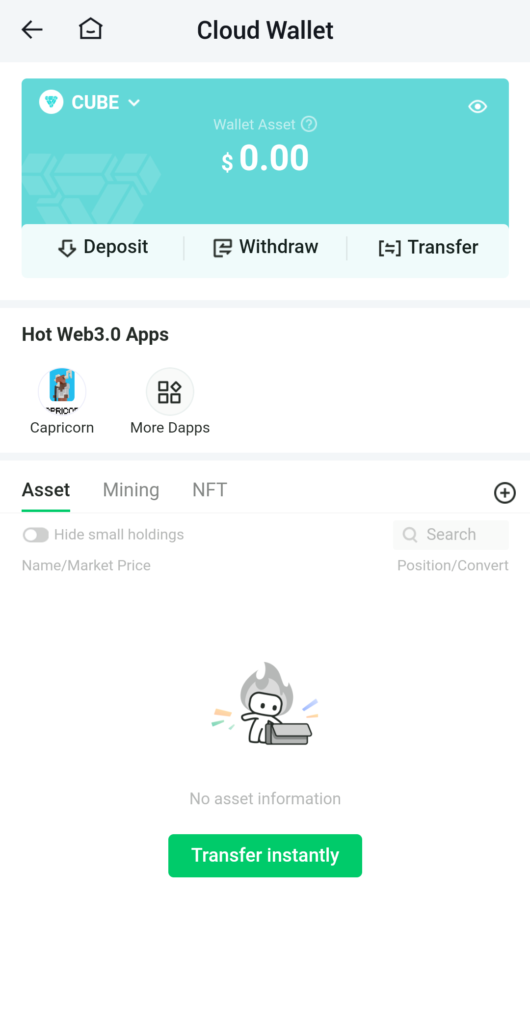
Voila! You have successfully created and set up the iToken Wallet with only a few clicks.
Now, you can navigate through the iToken Wallet with its simple user interface.

To use the comprehensive features of iToken Wallet, you need to install the iToken Wallet application.
Via the iToken Application
1. Install iToken Wallet Application
If you have already installed the iToken Wallet application, you can skip this step.
First, let’s download the application.
iToken Wallet application is available for Android and iOS.
Open the wallet once the installation has been done.
Now, a pop-up will appear with a link to the iToken privacy policy. Read the privacy policy and tap on “Agree”.

2. Tap on “Profile”
Once you have tapped on “Agree”, you can see five options at the bottom of the device screen.
Tap on the “Profile” amongst them.

3. Connect to Huobi Global Account
On the “Profile” page, you can see multiple options.
Just tap on the first option, “Cloud Wallet Management”.

Now, you will be asked to log in to your Huobi Global account. Enter the credentials to log in.
That’s it. You have successfully created and set up an iToken account.
Also, you have connected your Huobi Global account to iToken.
Conclusion
iToken Wallet is definitely one of the best cloud wallets out there.
To create and use the iToken Wallet, you need to have a Huobi Global account.
After establishing the connection between iToken Wallet and the Huobi Global account, you can use the iToken Wallet to send and receive cryptocurrencies and NFTs.
You can also buy and swap cryptocurrencies inside the wallet and manage your assets deployed in the DeFi project.