Minting an NFT is the process of converting the ordinary jpeg, audio, or video file into a digital/ crypto asset by just uploading it into the Ethereum, Solana, Cardano, or Polkadot blockchain.
Among these blockchains, Ethereum and Solana are the most popular when it comes to NFT.
If you are an ordinary person and not interested in creating your own NFT art like other famous NFT artists, minting is one of the paths you should go.
In this article, we have explained how to mint your first NFT in the OpenSea marketplace.
Why OpenSea marketplace?
OpenSea, the king of the NFT market, is the world’s first and the largest NFT marketplace. It has a wide variety of 80 million+ NFTs ranging from art to domain names to utility.
OpenSea has been constantly getting more than 10 million traffic from the month of July 2021. This October month traffic alone is 60.67 million.
The pros of OpenSea:
- Intuitive yet effective ranking: It ranks collections based on metrics such as volume, floor price and more
- Gas-free marketplace—Now, users no need to pay the blockchain fee
- Cross-blockchain support with Polygon
- Best platform response time (179ms)
Step-by-step instructions for minting an NFT in OpenSea marketplace:
Step 1: Go to OpenSea and click the wallet icon
Step 2: Connect your wallet
Step 3: Verifying your OpenSea account
Step 4: Create your NFT
Step 5: Initializing your wallet
Step 6: Confirmation
Step 7: Minting on other blockchains
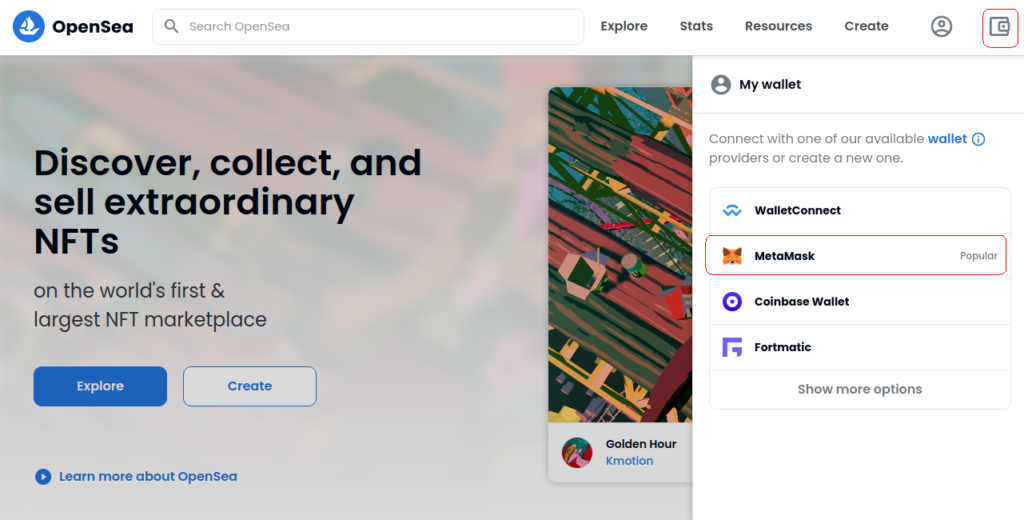
1. Go to OpenSea and click the wallet icon
To login into OpenSea,—the largest NFT marketplace—you need to have a crypto wallet account.
Currently, OpenSea supports MetaMask, Coinbase Wallet, WalletConnect, Fortmatic, and more.
Since MetaMask is the popular and widely used crypto wallet, we are going with it.
Once you are into the OpenSea website, click the wallet icon on the top right corner.
2. Connect your wallet
Click on the MetaMask wallet and select the box with your wallet address.
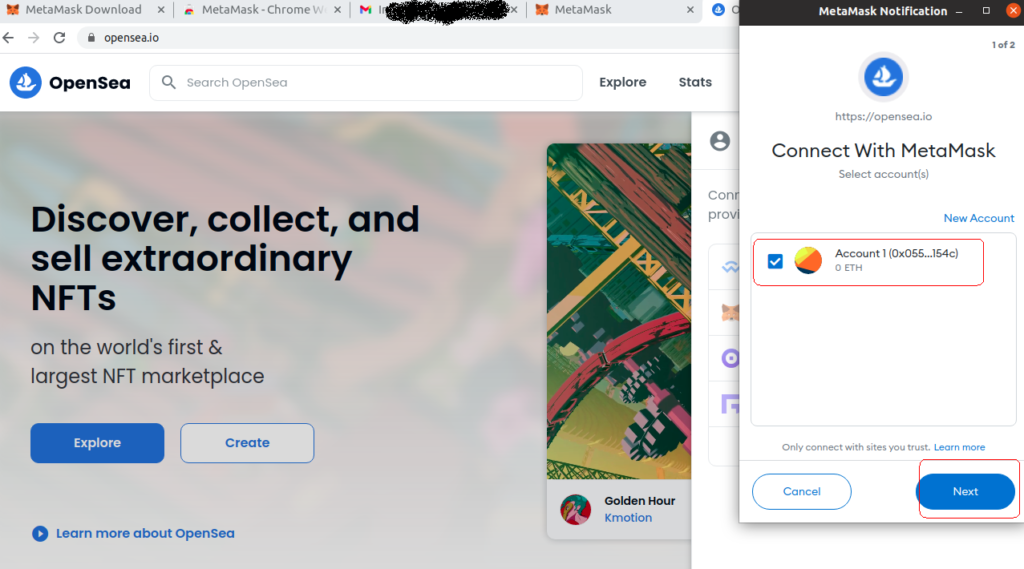
If your wallet is successfully connected, OpenSea will ask you to accept the terms and conditions. Accept the terms and conditions by selecting it and click Next.
Then, click on sign
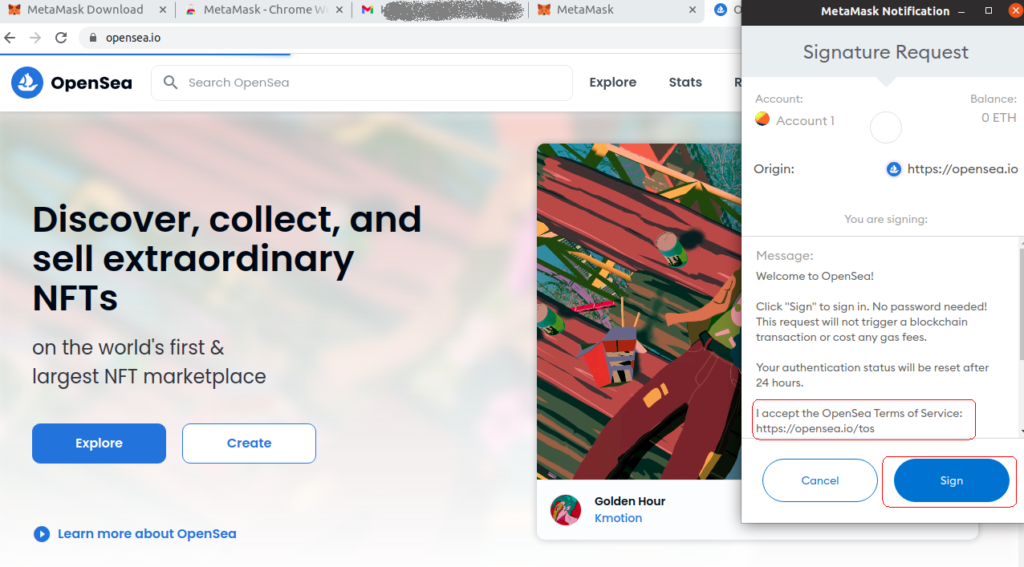
3. Verifying your OpenSea account
After clicking Sign, you’ve created your Unnamed account.
In order to verify your account, go to Profile -> Settings
Then, it is mandatory to set your Username and type your email address in the respected field.
You can set profile picture and profile banner and link your Twitter, Instagram, and Website too.
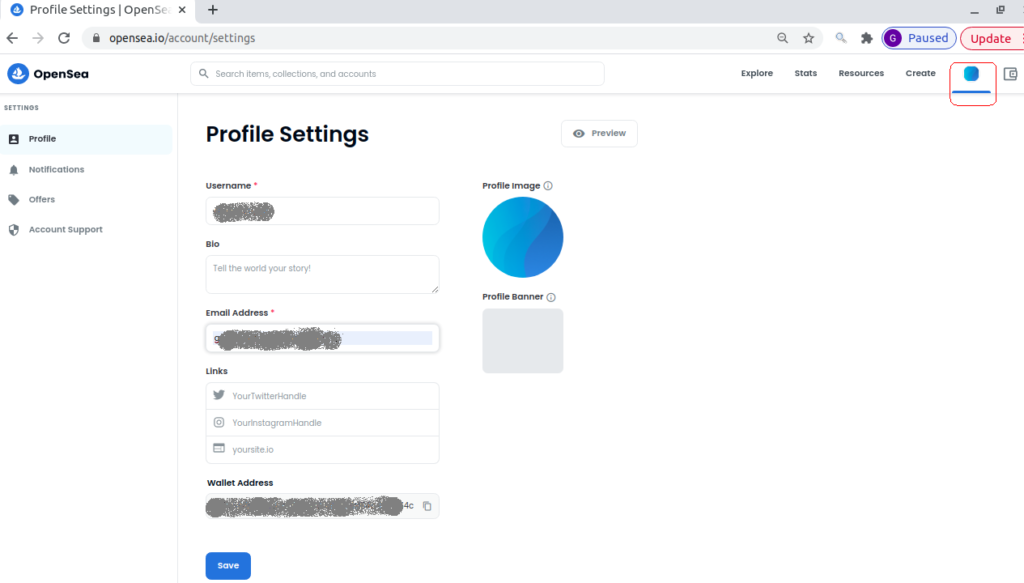
After fed all the information, you can click on Save
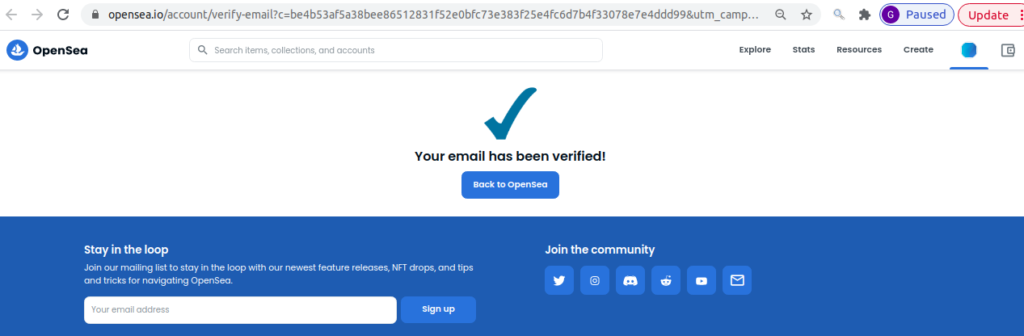
Then, you will receive mail from OpenSea. Go to your inbox and click Verify. On the successful completion, you could see the image below.
4. Create your NFT
Creating NFT means minting the NFT that you have already purchased.
You can create your NFT in 2 ways:
- Via My Collections
- Via Create
Via My Collections
Profile -> My collections
If you want to mint multiple NFT as a part of your collection, you can choose My Collections and upload your NFTs.
Via Create
Click Create right before your profile icon to immediately mint a NFT. Click on Create new item and upload it from your mobile or PC.

You can upload an image, audio, a video, or 3D Model.
Give it a name and description in the respective field. Leave the other fields as it is.


Then, click Create.
If everything is right, you could see the image below.

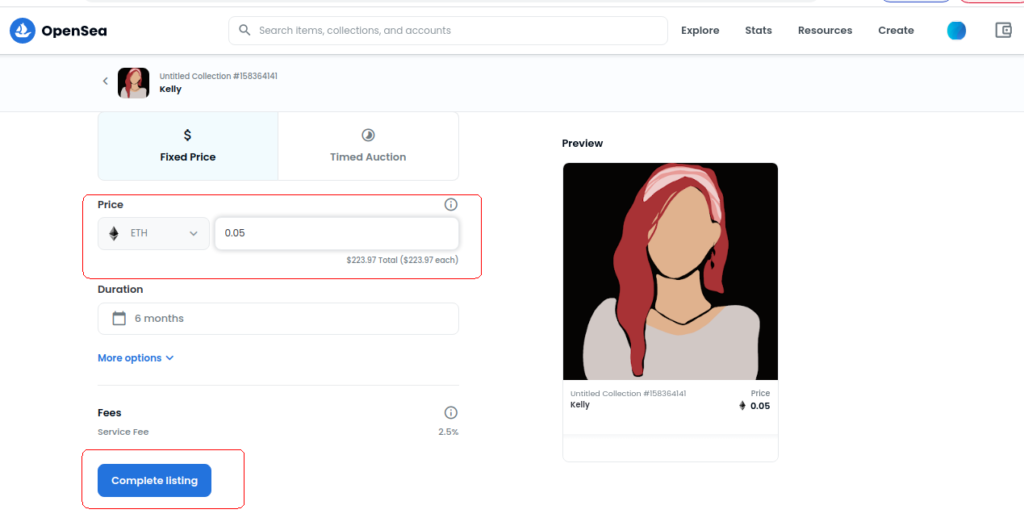
If you would like to share it, you can. Otherwise, click Sell to proceed further.
In the next window, you can set Price for your NFT and click Complete listing.
5. Initializing your wallet
Before listing for sale, OpenSea will ask you to confirm a few things.

Since this is your first time selling on OpenSea, you need to initialize your wallet. Meaning you need to pay a one-time gas fee.
If there is no sufficient funds in your wallet, the Confirm button won’t appear.
6. Confirmation
If you are done with the initialization, you need to confirm a few other things as well.
OpenSea wants you to approve the item for Sale and price confirmation.
Just confirm it through your wallet.
That’s it. Your NFT is up for sale.
7. Minting on other blockchains
Cross-blockchain support is available in OpenSea via Polygon; this is called bridging. Through which you can sell your NFT in a separate blockchain without paying any gas fee.
To mint via Polygon, go to step 4. After filling your name and description of your NFT, scroll down a bit. You could see a field called Blockchain in which you can select Polygon.

If you need further assistance, you can take a look at this article.
I’m glad you minted your first NFT.
In case if you are looking to buy Solana-based NFTs, you need a Solana-based wallets such as Phantom or Solflare and to go to the Solana-based NFT marketplace. Take a look at our article Minting an NFT in Solsea or Solanart. (link will be uploaded soon)