Generally, hardware wallets, also known as cold wallets, are the safest way to store digital assets, such as cryptocurrencies and NFTs.
One such hardware wallet in the market is Trezor. There are two products in Trezor, the Trezor Model T and Trezor Model One.
Always make sure to buy Trezors hardware wallets from the official website.
In this article, you will learn to set up the Trezor Model T. Since the setup process of both models is similar, you can use this article to set up Trezor Model One as well.
Steps to Set Up Trezor Model T
- Connect Trezor to your Computer
- Install Firmware
- Click “Create a new wallet”
- Backup and Verify the Recovery Seed
- Set Up PIN
- Activate Coins
- Name your Device
- Transfer Fund
1. Connect Trezor to your Computer
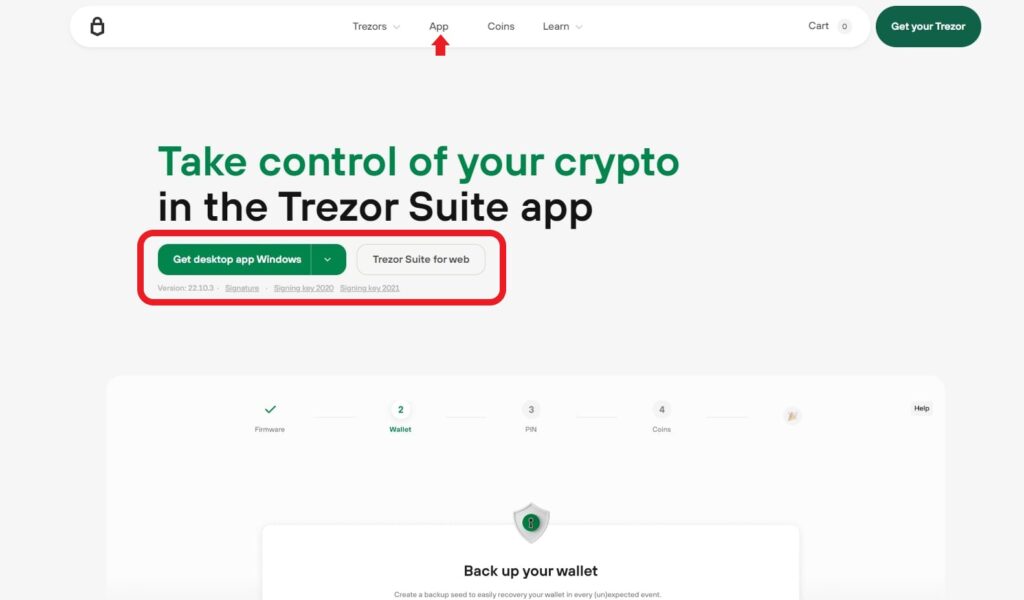
Straight after unboxing your Trezor Model T, head to the Trezor website and click “App”.
Then, click either “Get desktop app” or “Trezor Suite for Web”.
After downloading the application or getting into the web interface, connect your Trezor device to the computer or smartphone with the USB cable given.
After connecting the device, you will be able to see your device on the computer screen.
In case you cannot find your Trezor device, try inserting the cable correctly, changing the cable, or using the Trezor Bridge.
Trezor Bridge is a communication tool that facilitates the connection between your Trezor and your Internet browser. It can be downloaded on the Trezor website.

2. Install Firmware
After connecting the device to your computer, you need to click “Install firmware”.

After the firmware installation, the device automatically gets restarted.
Trezor devices are shipped without firmware installed to ensure that you can get started with the latest version. Firmware acts as a brain for your device that instructs on the handling of the private keys, the process of transactions, and managing the addresses.
You don’t worry about the authenticity of the firmware as it is always checked automatically during the device’s start.
3. Click “Create a new wallet”
After the installation and restart/ rebooting of the device, you will be able to see two options, “Create a new wallet” and “Recover an existing wallet”.
You need to click “Create a new wallet”.

4. Backup and Verify the Recovery Seed
This is the most important step in the setup of your Trezor device. Be alone, and ensure that nobody is looking at your screen.
Now, click “Standard backup”.

By doing so, you will get a notification on your Trezor device that shows “Do you want to create a wallet?“. Tap the green checkmark on your device.
Then, click “Create backup” on the Trezor Suite.
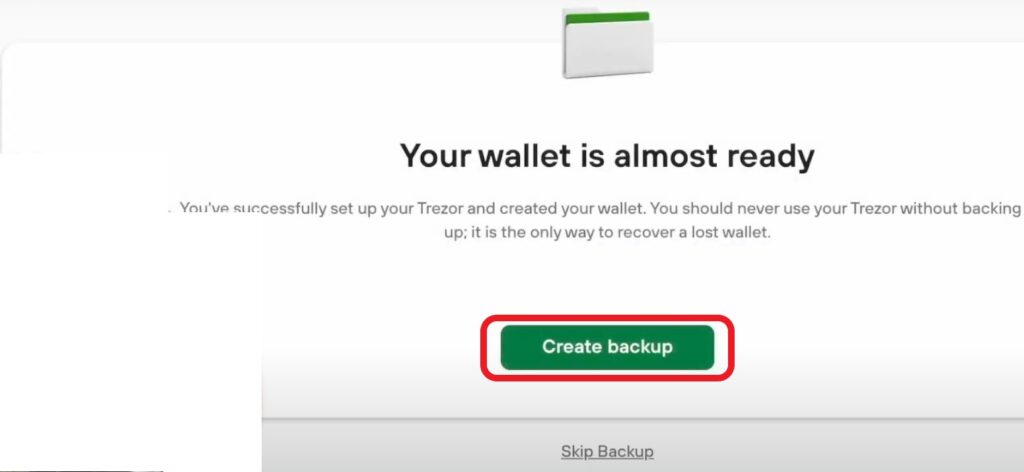
Now, you will be able to see the 12-word recovery seed on your Trezor device screen.
Note it down on the two sheets that come in the box and store it in two different places where you only have access to them.
In the case of a broken or stolen device, you need this recovery seed to recover the assets in it. Never ever share your recovery seed with anyone else or store it online.
After noting down your recovery seed, you need to verify it on your device. To do so, select the word in the right position.
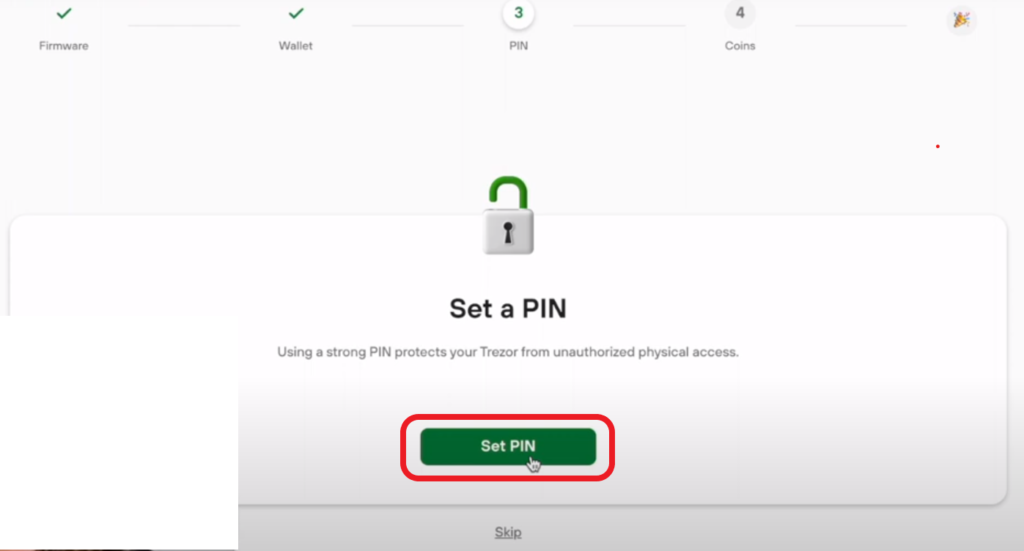
5. Set Up PIN
Though setting up a PIN is optional, it is wise to enable it to add an extra layer of protection.
Setting up a PIN can be done on your Trezor device, just like backing up the recovery seed.
Set the PIN and re-enter to confirm it.
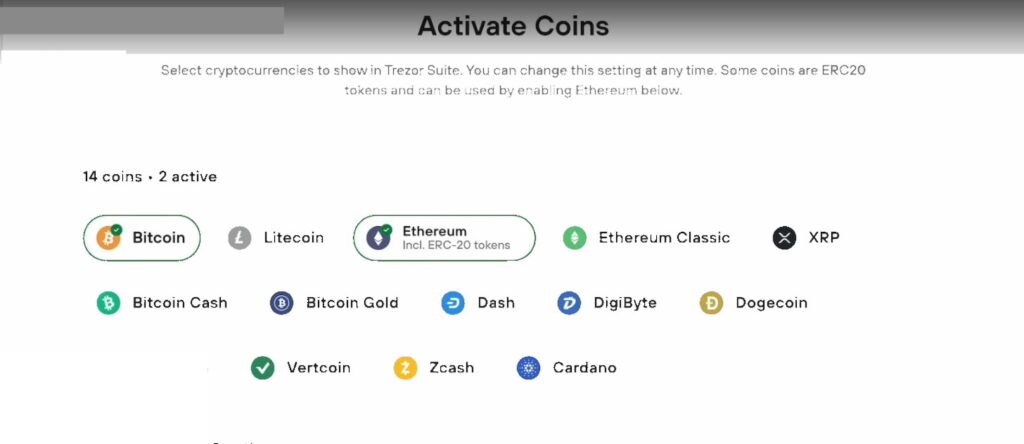
6. Activate Coins
After setting the PIN, you need to select cryptocurrencies to show in Trezor Suite. You can manage the selection at any time.
7. Name your Device
Now, you need to set a name for your device and it can be done on the Trezor suite itself.
You can personalize the device by setting your own name or any other name with no more than 16 characters.
Then, click “Access Suite”.

Select the wallet type as “Standard wallet“.

That’s it. You are all set to use the Trezor model T.
8. Transfer Fund
On your Trezor suite dashboard, you can see the assets.
Select the cryptocurrency you want to store on your Trezor.
Then, click “Receive”. Now, you will get to see a one-time address on your computer screen as well as on your Trezor device.

Conclusion
Setting up the Trezor device primarily involves installing the firmware, backing up and verifying of recovery seed, and setting up the PIN.
Understand that you are the only person responsible for your recovery seed, not SatoshiLabs and your device never have the backup of your recovery seed.
To avoid phishing attacks, bookmark wallet.trezor.io.
FAQ
1. What is the recovery seed in Trezor?
The recovery seed or recovery phrase is the master key for the wallet. It holds full control over your Trezor wallet. Those who have the recovery seed will have full access to your Trezor device. Hence, you should not share your recovery seed with anyone else and always store it offline.
If you have lost your Trezor device or it gets broken, you can easily recover the funds stored on it using your recovery seed.
