Temple Wallet is a non-custodial cryptocurrency wallet for the Tezos blockchain.
It allows you to access dApps, store NFTs, swap tokens, and stake Tez (ꜩ).
Temple wallet supports Ledger Nano hardware wallet.
To use Temple Wallet, you need to download the extension.
Then, you need to create your wallet account.
The account creation process includes setting a new password and storing the seed phrase.
How to Install, Set Up, and Create Temple Wallet
- Download the Temple Wallet Extension
- Click “Create a new Wallet”
- Set Password
- Backup and Verify the Seed Phrase
- Click Confirm and Start
- Use Temple Wallet
1. Download the Temple Wallet Extension
Temple Wallet is currently available as a browser extension.
We can expect the Temple Wallet mobile application very soon.
To download the Temple Wallet browser extension, you need to go to the Temple Wallet website.
Click on WEB EXTENSION on the front page.
Temple Wallet browser extension is available for Chrome, Firefox, Opera, Vivaldi, Yandex Browser, Edge, Brave, and Safari.
Choose your browser and click on INSTALL.
2. Click “Create a new Wallet”
After downloading the wallet extension, a new window will open up.
There you can see two options: Import existing Wallet and Create a new Wallet.
Click on Create a new Wallet.
3. Set Password
After clicking on the Create a new Wallet, you need to set a password.
Set a strong password and retype it in the Repeat Password field.
Then, select the checkbox after reading the terms and privacy policy.
Click on Create.

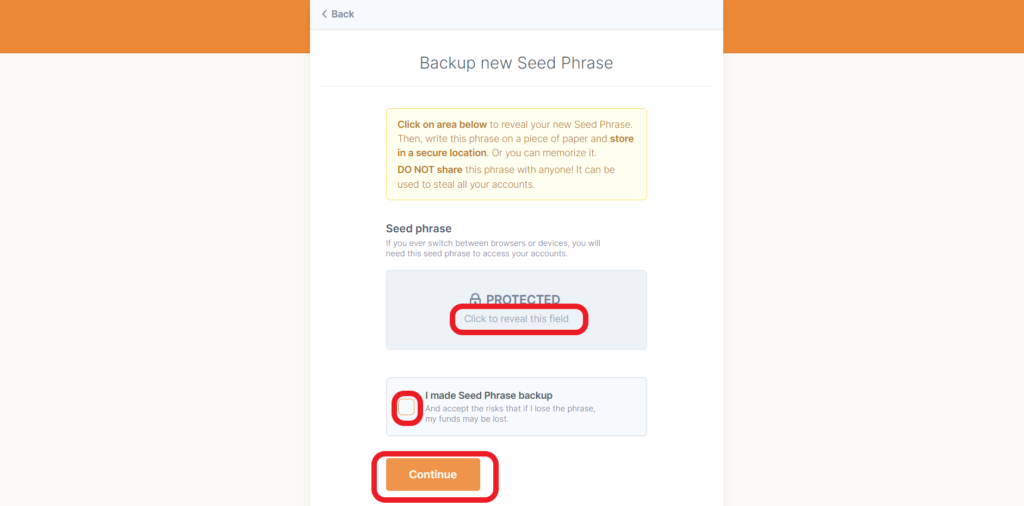
4. Backup and Verify the Seed Phrase
Now, you need to backup your seed phrase.
Click the box under the Seed phrase to view your seed phrase.
You can write down your secret recovery phrase on a piece of paper and keep it somewhere private.
Then, select the checkbox and click on Continue.
Always remember you could only recover your account via Secret Phrase. There is no other alternative to this. If you lose your Recovery Phrase, you will lose all of your assets.
Upon clicking Continue, you will see the Verify Seed Phrase section.
Here, you need to fill the gaps accordingly.
Fill in the correct missing words.
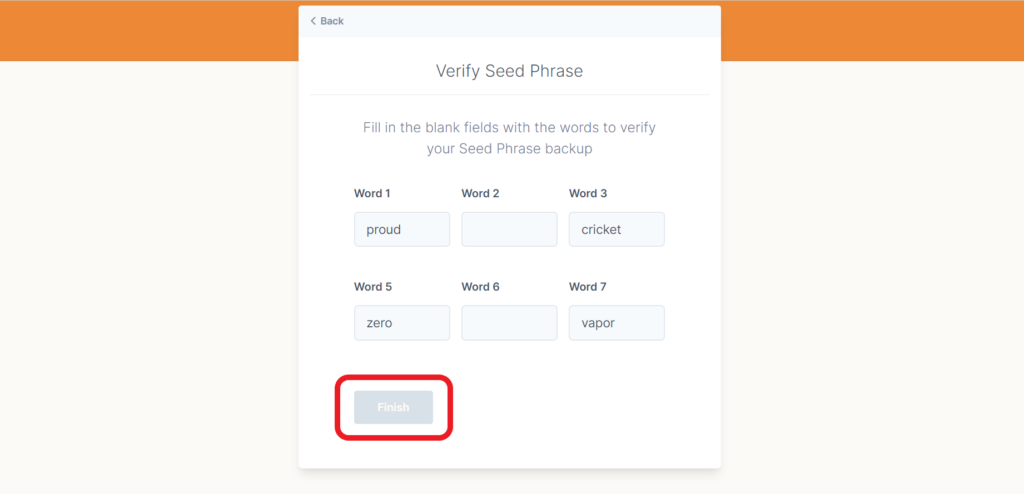
Click Finish.
5. Click Confirm and Start
After clicking on Finish, a note about data gathering will appear.
This is nothing but Temple Wallet will collect anonymized click and pageview events to improve its performance.
However, the wallet will not track or store data such as keys, addresses, transactions, balances, hashes, IP, or any other personal information.
Hence, click Confirm.
Next, the wallet will display 4 steps of onboarding instructions.
You can see that one by one by clicking on Next.
Or you can skip them.
Lastly, click on Start.
That’s it. You have installed and created an account on Temple Wallet.
6. Use Temple Wallet
Now, you can see your wallet address and account balance on the top of your Temple Wallet.
Just below that you can see Receive, Buy, Swap, and Send buttons.
Right underneath, you will be able to see three tabs: Tokens, Collectibles, and Activity.
If you want to connect your Temple Wallet with Ledger, you need to click on the wallet-like icon on the top right corner.
Then, click on Connect Ledger.
If you want to lock your Temple Wallet, you need to click on the wallet-like icon on the top right corner.
Then, click on Lock.

Conclusion
Installing and creating a Temple Wallet account is a simple task.
After creating a Temple Wallet account, you can store your Tez (ꜩ) and Tezos-based NFTs.
You can even swap for tokens such as wWBTC, QUIPU, KUSD, tzBTC, and uUSD inside Temple Wallet.
